Despite the bicycle being a relatively simple machine, things can still go wrong with it. When this happens you have two options. You can either take your beloved bike to your local bike shop or you can try to fix it yourself.
While there are some jobs that do require the specialist services of your bike shop, there are many other tasks that you can complete yourself. In fact, working on your own bike can prove to be highly satisfying. Even the most basic of tool kits will be enough for most forms of maintenance or minor repairs, so you don’t even have to go out and spend a fortune on new fangled gizmos (although you can if want!).
If your household is anything like mine, then you’ll have more than one bike to support! Our family has a collection of five bikes that require regular maintenance, so it makes economic sense to be able to work on them myself rather than send them off to the bike mechanic every time something needs to be replaced/tightened/adjusted etc.
An example of this happened to us recently. My eldest son suffered a puncture on his track bike. While changing the tube I noticed that the rim tape needed replacing. Now, replacing rim tape is a simple procedure, which is lucky for me because after checking all our bikes I found another three wheels that needed attention. The fact that I could fix them all myself saved me a few dollars, and if I can do it, anyone can do it.
So, let’s start at the start.
What is rim tape?
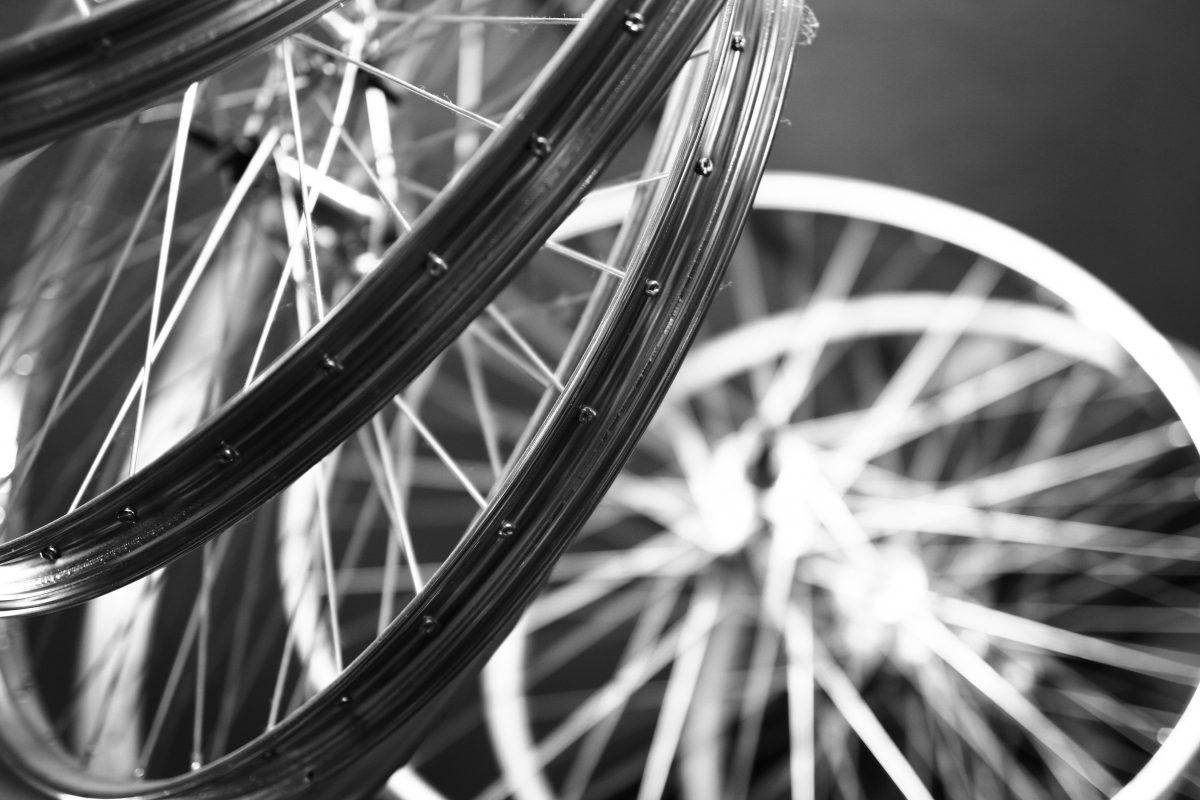
Rim tape is a thin band of rubber or cloth that lines the inside of your wheel’s rim. It covers the spoke holes which have nasty, sharp, tube shredding edges. Place a tube onto the raw metal of your rim and it won’t last long.
Rim tape comes in a couple of different varieties. The rubber ones are like giant elastic bands. You stretch them over your wheels and they snap into place at the bottom of the rim. The process is very simple and only takes a couple of seconds. However, the rubber bands do tend to slide around a bit on the rims and can get pushed to the side when you reinstall your tyres, exposing your new tube to the aforementioned sharp edged spoke holes.
How to apply rubber rim strips:
A better option is to go for cloth rim tape. Cloth tape comes on a roll and has adhesive on one side. It sticks to the rim which eliminates the risk of it being pushed aside at a latter date, offering a more trust worthy level of protection for your precious tubes.
It takes longer to apply than the rubber variety, but the process is still simple and its definitely a job that you can perform at home.
Find New & Used Bicycle Accessories and Components for sale on Bike Chaser.
Applying cloth rim tape
Firstly you have to purchase your tape. You can do this online, but personally I think it is better to buy it at your local bike shop. Before you do that though you need to measure the width of your rim. Measure it from the inside of one rim wall to the other. The tape you buy will need to be a similar width. A couple of millimetres wider is okay, but you don’t want it to be narrower.
When you do get your tape you will notice that it comes on a roll (it is not looped like the rubber variety spoken of earlier). Because it is adhesive you have to peel it off the roll, a bit like the way you would rip off a strip of masking tape. Once you have peeled off a few centimetres or so you will see that the very beginning of the tape has a small hole in it. This is for the valve and needs to be positioned over the valve hole in your rim. Press down firmly so that the tape sticks.
Next, grab a screw driver and shove it through the valve hole. Even though the tape is adhesive the force needed to pull it from the roll can cause what has already been placed on the rim to slip slightly. This remedies that situation ensuring that when you finally get all the way around the rim, the hole in the tape still lines up with the valve hole in the rim. Trust me, this simple precaution will save you hassles later on.
Once you have positioned the tape over the valve hole you need to keep peeling the tape off the roll and pressing it firmly into the rim recess. I like to peel off about 20 centimetres at a time. I pull it tight and then, keeping tension on the tape so that it doesn’t go slack, lower it onto the rim. It is important to make sure that the tape is pressed evenly into the recess and not allowed to creep higher up one side of the rim wall than the other. This ensures that the spoke holes are well and truly covered.
With the wheel held between my knees, I slowly rotate it around as I apply the tape a few centimetres at a time, making sure I follow everything outlined above. There should be enough tape on the roll to do one wheel. When you get to the end you may need to trim the tape to prevent overlap. I usually cut it so the join between the start and end of the tape sits flush inside the rim.
All that’s left to do now is to remove the screw driver and replace your tube and tyre. Don’t forget to take a couple of moments to admire your handiwork first though!
Oh, and give yourself a pat on the back. With the money you saved doing this job yourself, you can go and shout yourself a new pair of cycling gloves!
Leave a Reply
![]()
![]()
![]()
![]()